Carving a jack-o’-lantern is a beloved Halloween tradition, but what if you could capture the spirit of this grinning gourd on paper? Welcome to our Halloween drawing tutorial, where we’ll illuminate the secrets to creating a spooktacular jack o’ lantern masterpiece. learn to capture the essence of Halloween in your artwork. So, grab your drawing tools and prepare to carve a unique piece of pumpkin art that’ll light up the night!
Step 1 – Rough shape

Draw out a simple shape, this doesn’t need to be and oval, you can be creative and try in a variety of shapes.
Step 2 – Adding shape and a simple face

Decide on what type of expression you want you jack o’lantern to have, will it be evil, goofy, funny or scary? add the curves at the top and bottom of each section of the pumpkin.
Step 3 – Create a 3D effect and rework the lines
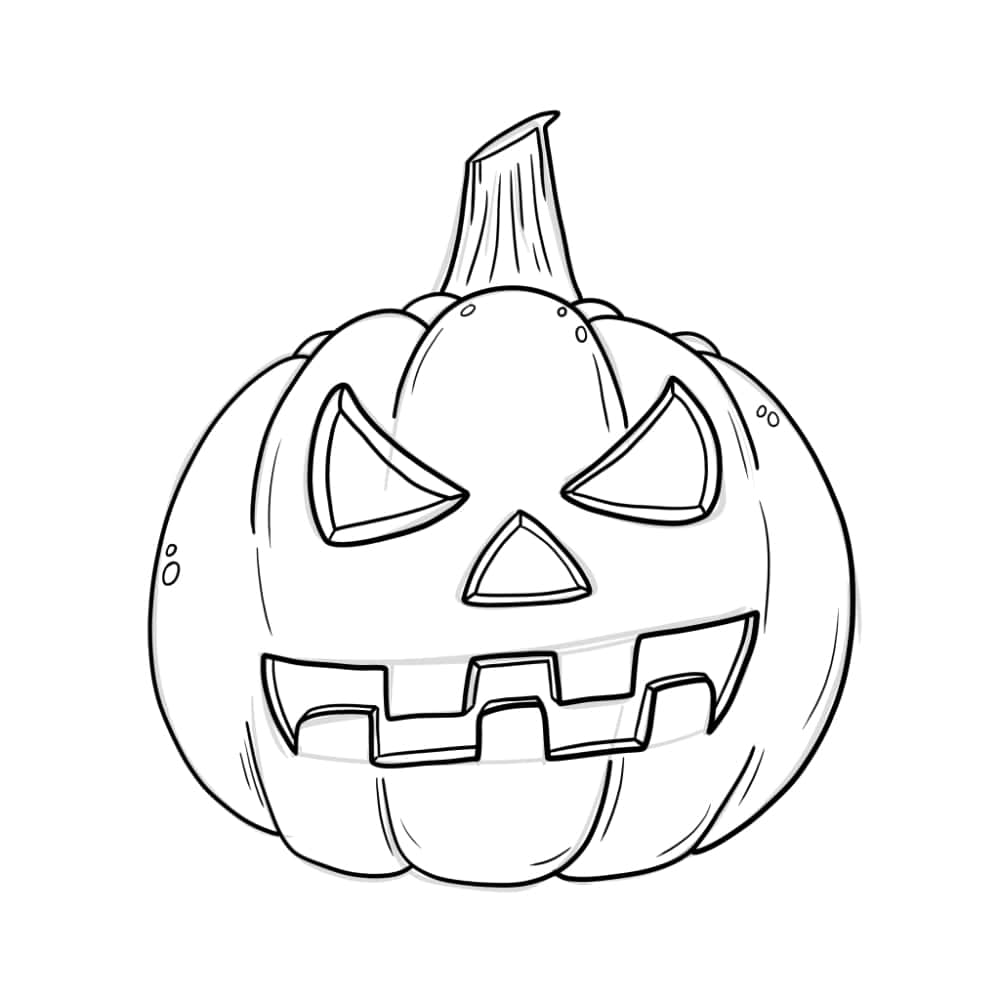
Create a 3D effect by drawing the inner pumpkin, add small blemishes and slight details to the design, rework all the lines and prepare for adding colour.
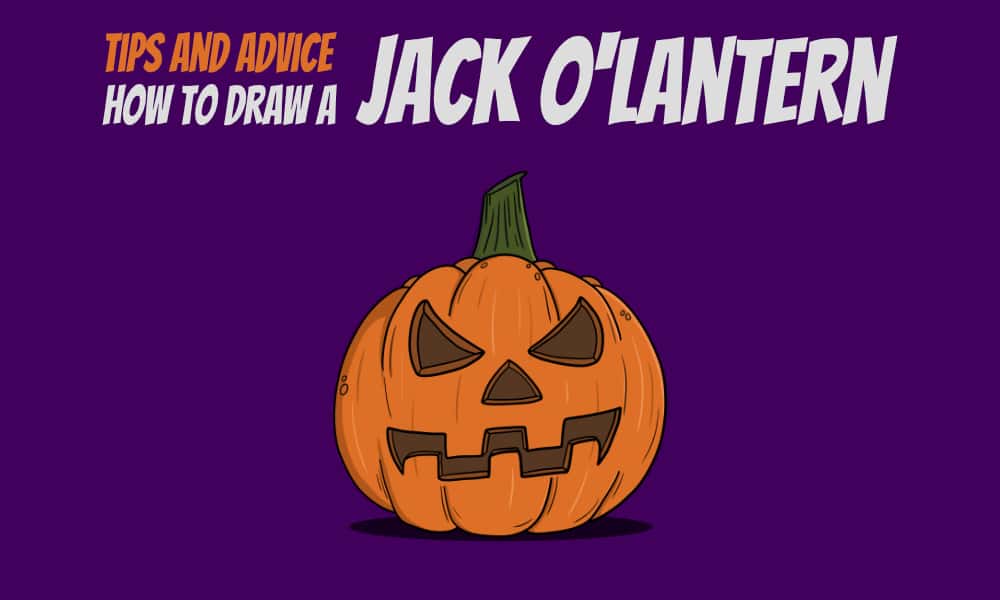
Step 4 – Add a solid colour

Add a solid colour to each part of your illustration, make the inside of the jack o’lantern darker (or if you want to draw it with a candle inside, you can choose to make it lighter inside).
Step 5 – Shadows and highlights

Add some light shadows and highlights to make the illustration POP!
Download now!
Prefer to work from paper? Download the tutorial below!

