Have you ever wondered what goes into designing a book cover? It’s not as simple as just slapping on a pretty picture and calling it a day. In fact, a lot of research and thought goes into creating a book cover that will not only catch someone’s eye but also accurately represent the story within. When creating the cover for my book, I drew inspiration from beloved children’s books like the Mr. Men series by Roger Hargreaves and The Tiger Who Came to Tea by Judith Kerr. I loved the simplicity of their covers, with the main character front and centre against a plain white background. This style allowed the characters to shine and capture their personality in a fun and playful way. For my own character, Frankie, I wanted to convey his energetic spirit, so I decided to have him jump out of the water to say hello. It perfectly represented his personality and added a dynamic element to the cover. Step 1 Research Before settling on this design, I did a lot of research. I scoured through lists of books and picked out ones that stood out to me. I also looked on Amazon and found books that were number one in a similar category to mine and analysed their covers. Method I will be sharing my personal approach to understanding what makes a book appealing. By breaking down certain aspects of a book’s cover design, we can gain insights into the story and the intended audience. First, I examine the placement and layout of the cover design. I consider the position of the characters, their size in relation to the book, and the color scheme used. Additionally, I ask myself questions such as whether all the main characters are featured on the cover, and what scene is being depicted. I also apply similar questions to the book’s title (size, position, color, typeface). Next, I analyze the image in grayscale to identify areas of high contrast, which usually indicates where the eye is being drawn to. This helps me better understand the hierarchy of the visual elements on the cover. I also use a blurred version of the image to focus on the big shapes and remove smaller details (for a simpler method try squinting at the image). To illustrate this approach, I’ll use the example of “The Gruffalo”. When examining the cover design in grayscale, I notice that the title is the point of highest contrast, with the characters blending into the background. In the blurred version, however, the Gruffalo character and the yellow path where the mouse is standing are the points of high contrast. Finally, I look at the colour scheme used on the cover, taking samples from the most obvious colours present. By doing so, I can quickly determine the overall mood and setting of the story. For example, the lack of red and oranges on “The Gruffalo” cover gives me the impression that it is a friendly book set in nature, and not too scary for young children. I have included a few more books below, I would like you to take a look and see what information you get from them. Part 2 Design Once you have gathered all the necessary information, it’s time to move on to the design phase. There are a variety of software options available for designing your book cover, including popular tools such as Adobe Illustrator, Affinity Designer, and Canva. However, it’s worth noting that some software options like Gimp or Photoshop, which are primarily for photo editing, may not be the best choice for creating a professional book cover. In my opinion, Affinity Designer is a top recommendation as it offers all the essential tools needed to create a stunning book cover (and interior, too). As you begin designing your book cover, there are two primary elements to focus on: custom art and typography. Take your time and scour Google fonts for the perfect typeface for your books, There is plenty to choose from so you will be sure to find the perfect one. To create a standout cover, it’s important to ensure that your custom art conveys the essence of your character or story and that the typography complements the art style. While it’s possible to reuse art from within your book, make sure that the image aligns with the message and tone of your story. In summary, with the right design software and attention to art and typography, you can create a striking book cover that draws readers in and accurately represents your book’s content. Rough designs Designing rough drafts is a crucial step in the overall design process. By creating initial sketches, you can explore a variety of different ideas in a short amount of time, which can save you time and effort in the long run. It’s an effective way to avoid investing a lot of time in creating detailed designs that may not meet your needs. You can create rough designs using a simple pencil and paper or with design software, depending on your preference. In either case, the goal is to create a basic outline of your design idea. To illustrate the importance of rough drafts in the design process, take a look at this example of a rough draft I created for my picture book ‘Pet Sitter Wanted.’ As you can see, the design is very basic, but it effectively captures the essence of the story. With rough drafts, you can quickly experiment with different design ideas and refine your concepts before investing significant time and resources into a final product. Final design After completing your initial design drafts, it’s important to take a step back and analyze your work. Look for any areas of the design that may not be cohesive, such as contrasting colours or conflicting layouts. If you’re satisfied with your drafts, great! It’s time to move on to creating an almost-finished cover. To begin, download the measurements from KDP and use them to ensure
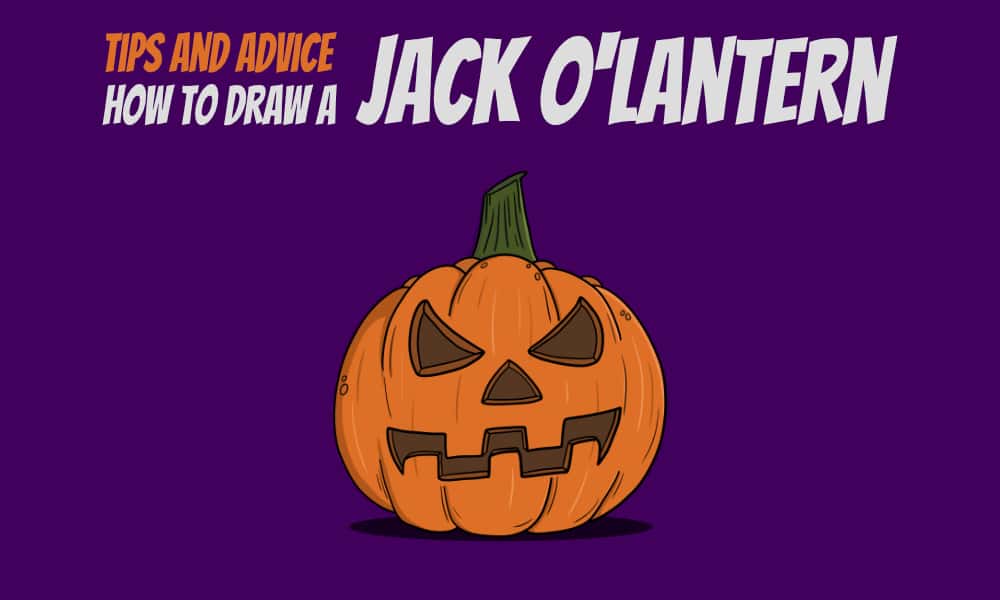
Tips and advice on how to draw a jack o’lantern
Carving a jack-o’-lantern is a beloved Halloween tradition, but what if you could capture the spirit of this grinning gourd on paper? Welcome to our Halloween drawing tutorial, where we’ll illuminate the secrets to creating a spooktacular jack o’ lantern masterpiece. learn to capture the essence of Halloween in your artwork. So, grab your drawing tools and prepare to carve a unique piece of pumpkin art that’ll light up the night! Step 1 – Rough shape Draw out a simple shape, this doesn’t need to be and oval, you can be creative and try in a variety of shapes. Step 2 – Adding shape and a simple face Decide on what type of expression you want you jack o’lantern to have, will it be evil, goofy, funny or scary? add the curves at the top and bottom of each section of the pumpkin. Step 3 – Create a 3D effect and rework the lines Create a 3D effect by drawing the inner pumpkin, add small blemishes and slight details to the design, rework all the lines and prepare for adding colour. Step 4 – Add a solid colour Add a solid colour to each part of your illustration, make the inside of the jack o’lantern darker (or if you want to draw it with a candle inside, you can choose to make it lighter inside). Step 5 – Shadows and highlights Add some light shadows and highlights to make the illustration POP! Download now! Prefer to work from paper? Download the tutorial below!
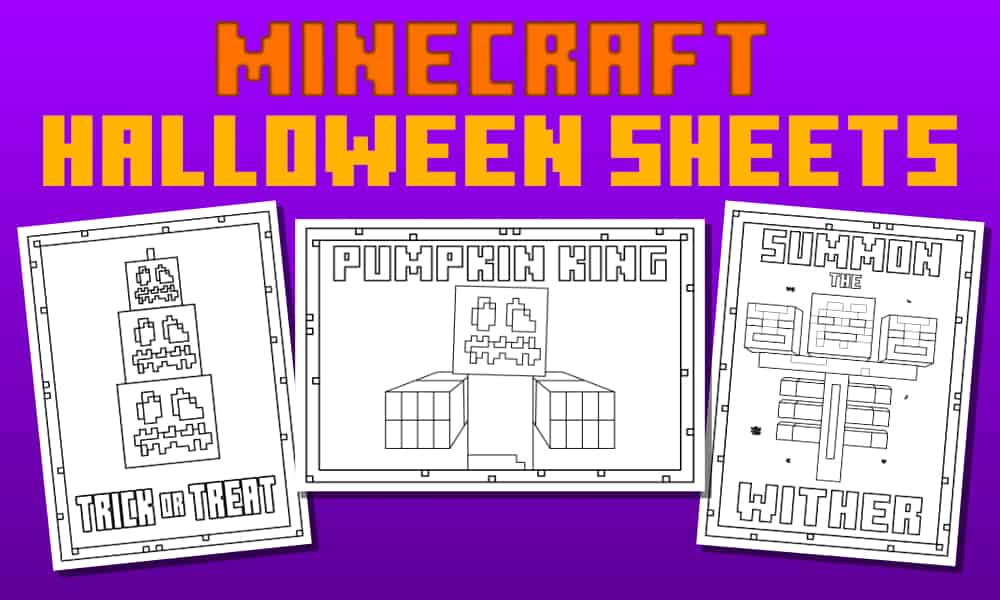
Minecraft-inspired Halloween coloring sheets
Hey there, fellow Minecraft enthusiasts! Are you ready to embark on a creative adventure that’s as blocky and colorful as the world of Minecraft itself? Well, you’re in luck because HungryRex.com has got just the treat for you! Introducing Our Minecraft-Inspired Coloring Sheets In the spirit of celebrating the spooky season, we’ve whipped up three fantastic Minecraft-inspired coloring sheets that you can download absolutely FREE! Get ready to unleash your inner artist with these awesome designs: 1. Pumpkin King: Ever wanted to have your own army of pumpkin-headed minions? Now’s your chance! Dive into the world of Minecraft and color your very own Pumpkin King. Will you make him spooky or silly? The choice is yours! 2. Summon the Wither: Prepare for an epic battle as you grab your coloring pencils and add your personal touch to the menacing Wither. Will you give it an eerie green glow, or perhaps a touch of vibrant, fiery red? The power is in your hands! 3. Trick or treat: Halloween wouldn’t be complete without a classic jack-o’-lantern. Get creative with the colours and patterns to make a one-of-a-kind masterpiece. How to Get Your Hands on These Fun Coloring Sheets Getting your hands on these Minecraft-inspired coloring sheets couldn’t be easier. Just head scroll down to the “download” section on this page. You’ll find the coloring sheets ready to be downloaded and printed out for endless hours of coloring fun. Why Choose HungryRex.com for Your Coloring Adventure? At HungryRex.com, we’re all about fun, creativity, and community. Our coloring sheets are not only entertaining but also the perfect way to unwind and unleash your imagination. Plus, we believe in sharing the love for Minecraft and creativity with all of you – that’s why these coloring sheets are absolutely FREE! Whether you’re a Minecraft fan, a coloring enthusiast, or just looking for a relaxing activity to do solo or with friends and family, our coloring sheets are here to brighten up your day. So, don’t wait any longer! Grab your coloring supplies, scroll down, and let the coloring adventure begin. Share your colorful creations with us on social media using #HungryRexColors, and who knows? You might just inspire others to embark on their Minecraft-inspired coloring journey too! Remember, the only limit is your imagination. Happy coloring, Minecrafters! Downloads Right click on one of the pictures below to download your free colouring worksheet!
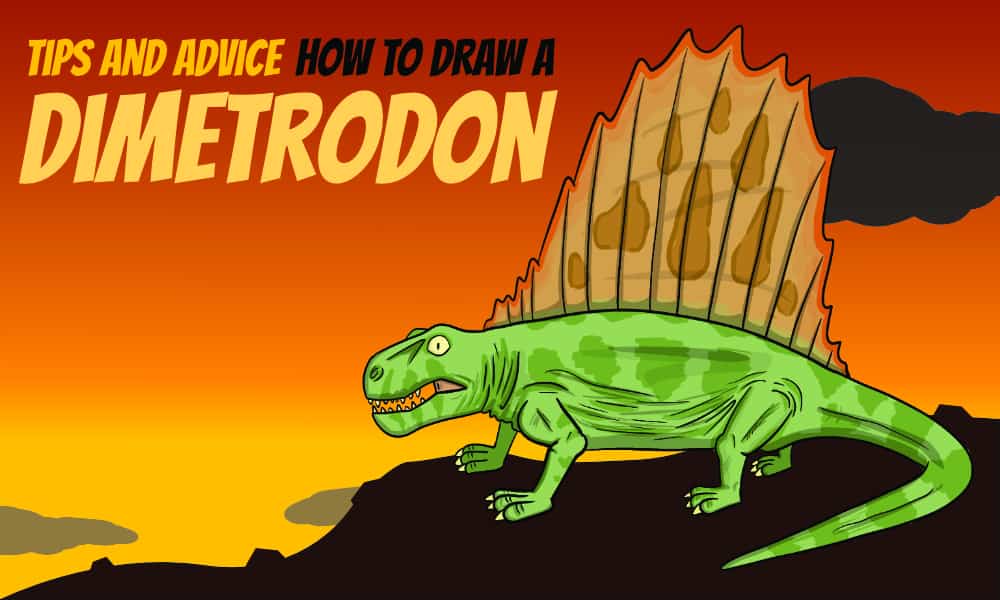
How to draw a Dimetrodon
Take a journey back in time and meet the fascinating dimetrodon, a cool creature that lived more than 250 million years ago. With its special sail on its back and other interesting things, it’s a neat idea for artists who like drawing old things! Dimetrodon isn’t a dinosaur, even though it looks a bit like one. It’s actually a special kind of reptile called a synapsid. The most remarkable thing about dimetrodon is its big sail on its back, made from long pointy bones. This sail helped it do different things, like staying at the right temperature and maybe showing off to friends. Some dimetrodon were small, and some were big, ranging from about 5.6 to 15.1 feet long. Dimetrodon was a meat-eater, which means it liked to eat other animals. It had sharp teeth that were good for cutting up meat. It probably ate things like fish, frogs, and small animals. With its strong jaw muscles and unique teeth, dimetrodon was a pretty good hunter. Even though it lived at the same time as early dinosaurs, dimetrodon was a unique critter that had its own cool stuff going on. Drawing dimetrodon can be a fun way to imagine what the past was like! How to draw a Dimetrodon Step 1 – Keep it simple Using very simple shapes, draw a simple pose for your dimetrodon. I have given my Dimetrodon a large sail and a square-shaped head. this shape will make it look strong and menacing. Keep in mind that Dimetrodon’s legs point inwards, so the knees on the front and the back face each other. Step 2 – Rough sketch Add some characteristics and details to your Dimetrodon. reptile mouths are never usually straight so draw a simple lightning bolt for the mouth. Step 3 – Refine the lines Rework all the lines adding wrinkles to the skin and other characteristics. Draw creases that flow around the leg joints and the neck. Step 4 – Colours Add solid colours to the different parts of your dimetrodon, then if you would like you can also add a pattern/ gradients. you can also play with the colour scheme. It’s a nice idea to check out some animals with patterned skin for reference. I used images of leopards and tigers for my inspiration. Step 5 – Shadows and highlights The final step is to add a little shadow and highlights where needed. Use black and turn down the opacity of a new layer then add Shadows to the Dimetrodon. It is a nice way to pick out little extra details. Prefer to work from paper? Download this printer-friendly, high-quality, version for free!
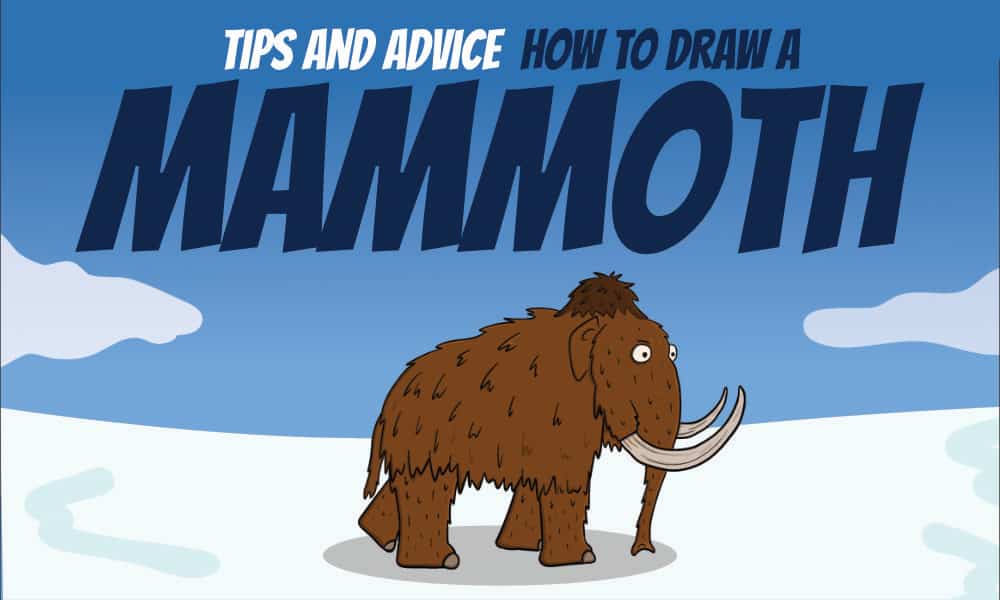
How to draw a mammoth
Step back in time to the Ice Age and meet the magnificent mammoths, majestic giants that once roamed the Earth. These prehistoric relatives of modern elephants captivate the imagination with their colossal size and intriguing characteristics, making them a perfect muse for aspiring artists and illustrators seeking inspiration from the ancient past. Mammoths were a diverse group of herbivorous mammals belonging to the family Elephantidae. They existed during the Pleistocene epoch, approximately 2.6 million to 12,000 years ago. With their long, curved tusks, shaggy coats, and impressive size, these magnificent creatures were well-adapted to the chilly landscapes of the Ice Age. Some mammoth species, like the woolly mammoth (Mammuthus primigenius), sported thick layers of fur and a hump of fat on their backs, ensuring survival in the harsh cold. The size of mammoths varied among species, with some reaching heights of up to 4 meters (13 feet) at the shoulders and weighing several tons. These gentle giants primarily feasted on grasses, sedges, and other plants, using their long, muscular trunks to gather food and their large molars to grind it efficiently. Mammoths lived in herds, which offered them protection from predators and facilitated social interactions among these intelligent creatures. Despite their dominance during the Ice Age, mammoths faced environmental challenges and eventually went extinct, with the last population disappearing from the Wrangel Island in the Arctic Ocean around 4,000 years ago. Nevertheless, their legacy lives on through fossils and artwork, inspiring us to envision the wonders of an ancient world filled with these awe-inspiring beings. How to draw a mammoth Step 1 – Basic shapes Using very simple shapes, draw out the basic design for your mammoth. they have a few distinct shapes, their circular head and the downwards sloping back. Step 2 – Adding details Start adding details but keep it rough for now. Try to keep the fur flowing in the same direction. Add the other legs in and give the tusks some weight. Mammoths have quite small ears compared to Elephants. The trunk gets smaller towards the end but sticks out like a Y shape and the very end. Step 3 – Reworking the lines Redo all the line-work, I varied the length of the fur on different parts of the body to give the mammoth a little character and not to make the head area too busy. Although mammoths had hairy trunks, I decided to give my version a smooth line for the front as I thought it was more visually appealing. Step 4 – Colours Add solid colours to all parts of the mammoth. There won’t be too much variety here but you can play around with different tones. Part 5 – Shadow and highlights The final step is to add a little shadow and highlight this will help the colours pop. Prefer to work from paper? Download this printer-friendly, high-quality, version for free!
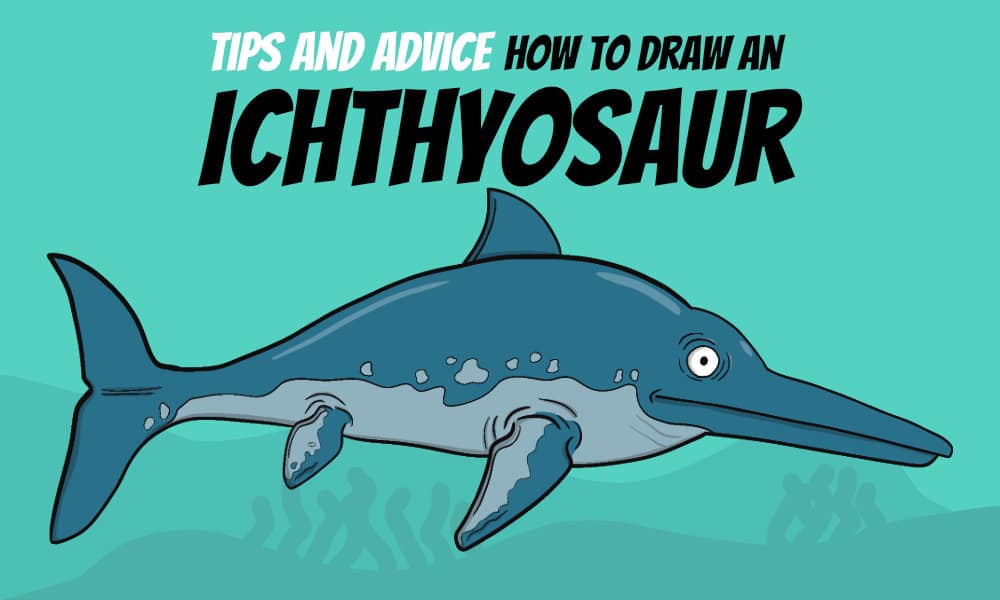
How to draw an Ichthyosaur
What is an Ichthyosaur The ichthyosaur, a mesmerizing marine reptile of ancient times, thrived during the Mesozoic era, roaming the oceans around 250 to 90 million years ago. With its streamlined body, paddle-like fins, and fluke-like tail, the ichthyosaur was superbly adapted to a life in the water, resembling a fish but belonging to the reptile family. These remarkable creatures had a global distribution, traversing the waters of polar regions and tropical seas alike, making them true oceanic wanderers. Some species of ichthyosaurs were relatively small, measuring just a few feet in length, while others grew to colossal sizes, reaching over 20 meters (65 feet), rivalling the dimensions of modern-day whales. Ichthyosaurs were renowned for their efficient swimming abilities, relying on their streamlined bodies and powerful tails to glide effortlessly through the water. As apex predators of their time, they were fast and agile hunters, capable of capturing a variety of prey in the ancient oceans. Their breath-holding capabilities, akin to those of modern marine mammals, enabled them to dive to impressive depths in search of food. Fossil evidence has provided invaluable insights into the lifestyle of these ancient reptiles, allowing us to marvel at the wonders of our planet’s history and inspiring artists and illustrators to visualize these captivating creatures from a time long past. How to draw an ichthyosaur Step 1 – basic outlines Start with a very basic form of an Ichthyosaur. They are very similar in shape to modern-day sharks except they have long noses. Step 2 – refining the lines Refine the drawing and add more detail where needed. The fins shape resembles the nib of a fountain pen or a long arrowhead. Step 3 – More refining Rework all the lines again and add creases to the skin. I have added a wavy line on the body that will help separate the colours I will use. Step 4 – Final linework and smaller details On a new layer redo all of the lines, adding thickness where needed. Add all the smaller details to the Ichthyosaur. try to give your creature some personality. Step 5 – Base Colours Add a solid colour to all of the parts of the Ichthyosaur. feel free to play with different colours. I have chosen a colour scheme similar to a great white shark. Perhaps looking at crocodiles or Killer whales could produce some very interesting results. Step 6 – Shadows and highlights Add simple shadows and highlights to the illustration. this will help it jump from the page. For me, this is one of my favourite steps. Prefer to work from paper? Download this printer-friendly, high-quality, version for free!

How to design a bespoke, engaging card game.
This guide will show you how to create an awesome card-based game and turn your imagination and Ingenuity into reality! Background As a full-time teacher, I’m always on the lookout for new and creative ways to engage my students in class. But once a year, I like to challenge them with a big project that we can all participate in, regardless of their English level. In the past, we’ve designed simple video games and created attractions, but this year I decided to up the ante by developing our very own tabletop card game. The game had to be easy enough for lower-level English speakers to understand, yet engaging and exciting enough to keep kids coming back for more. It was a tall order, but I was determined to make it happen. Intro Hey there! Are you looking to get creative and make your own card game that you can enjoy with your friends and family? Well, you’re in luck, because I had the same idea last year and created a fun little game called Elements! Now, I must admit, this game was primarily designed for younger children or students with lower English levels. However, it’s fast-paced and simple to play, so it’s perfect for anyone who wants a quick and fun game to enjoy with others. Plus, it’s a great project for students to work on together! With ‘Elements’ as a basis, you can create your own unique game that suits your preferences and interests. In this guide, we’ll cover the different aspects of creating a card game, starting with the artwork. Whether you’re an artist or not, you can create engaging and attractive cards by using a mix of traditional and digital methods. For example, you could draw your cards on paper using colored pencils, markers, or watercolors, or you could create them digitally. Once you have your artwork, the next step is to design the cards themselves. You’ll need to decide on the size, shape, and layout of your cards, as well as the colors, fonts, and other design elements. You can use templates or create your own designs from scratch, depending on your preferences. Of course, one of the most important aspects of any card game is the rules. You’ll need to think carefully about how your game will be played, including how many players it can accommodate, how turns will be taken, how points will be scored, and so on. Remember to keep your rules simple, clear, and easy to understand, while still allowing for plenty of strategy and fun. Finally, as you create your game, it’s helpful to keep some hints and tips in mind. For example, you may want to playtest your game with friends or family to see how it works in practice, or you may want to get feedback from others to help you refine your design. You can also look for inspiration from other card games, or try new and innovative ideas to make your game stand out. Idea When I first started creating Elements, I wanted to keep things simple. I chose to use rock, paper, scissors as the backbone for the game, but instead of using our hands, we used cards. This made it easy for everyone to understand and jump right in! Of course, you might have a more complex idea in mind for your card game, and that’s totally okay! The important thing is to start with a solid idea that you’re excited about. From there, you can begin to flesh out the details and add your own unique twists and turns. Artwork When I first started working on Elements, I wanted to make sure that my students were as involved as possible in the project. After all, it was meant to be a fun way for us to bond and spend time together! I also knew that time was of the essence so I used a lot of free time creating extra cards with my own artwork that could be used as either examples or could include in the game. One of the things that made Elements truly unique was the fact that my students were responsible for creating most of the artwork for the game. Of course, we didn’t have access to fancy drawing tablets or high-tech tools – we had to do things the old-fashioned way! Armed with nothing but paper and drawing materials, my students let their imaginations run wild and came up with some truly incredible designs. It was amazing to see the creativity and passion that my students brought to the project. Some of them drew intricate designs with tons of detail, while others opted for a more minimalist approach. And let me tell you, there were some truly hilarious and unexpected additions to the game – like a card featuring a giant banana or a fierce-looking pencil! During my free time, I came up with a simple card design that I could add the students’ artwork onto. It was important to me that their designs were front and center, so I kept the card template as basic as possible. The end result was a set of unique and colorful cards that perfectly captured the spirit of our little game. Design When it came time to design the cards for Elements, I knew I wanted to incorporate my students’ artwork in a way that would do it justice. And while I’m no graphic design expert, I was determined to make the cards look as professional and polished as possible. To accomplish this, I turned to a mix of different software tools. Some of my favorites include Affinity Designer, GIMP, and Krita – each of which has its own unique strengths and features. I found that using a combination of these programs allowed me to take advantage of the best tools and techniques from each one. Of course, everyone has their own preferences when it comes to software tools. Some people may prefer to use Adobe Photoshop or Illustrator, while others

AI Art: How to Use Artificial Intelligence to Create Stunning Artworks
AI Art: How to Use Artificial Intelligence to Create Stunning Artworks Artists have always been at the forefront of innovation, constantly pushing the boundaries of what’s possible with new techniques and technologies. One of the most exciting recent developments in the art world is the use of artificial intelligence (AI) to help create stunning artwork. In this post, we’ll explore what AI art is and how you can use it to create your own masterpieces. What is AI art? AI art refers to artworks that are created with the help of artificial intelligence, which can range from simple algorithms to advanced neural networks. AI art can take many forms, from abstract patterns to realistic images, and can be created using a wide range of techniques and tools. One of the most popular ways to create AI art is to use a machine learning algorithm called a Generative Adversarial Network (GAN). GANs work by training two neural networks: one that generates new images, and another that evaluates those images to determine whether they look realistic. By iterating through this process many times, the generator network learns to create images that are increasingly realistic and complex. How to use AI art to create your own artwork If you’re interested in using AI art to create your own artwork, there are a few different approaches you can take. Here are some steps you can follow: Conclusion AI art is an exciting new development in the world of art, offering a wide range of possibilities for artists of all skill levels. Whether you’re interested in creating abstract patterns or realistic portraits, there’s an AI tool out there that can help you bring your ideas to life. With some experimentation and practice, you’ll be creating stunning artwork that blend the best of human creativity with the power of AI.
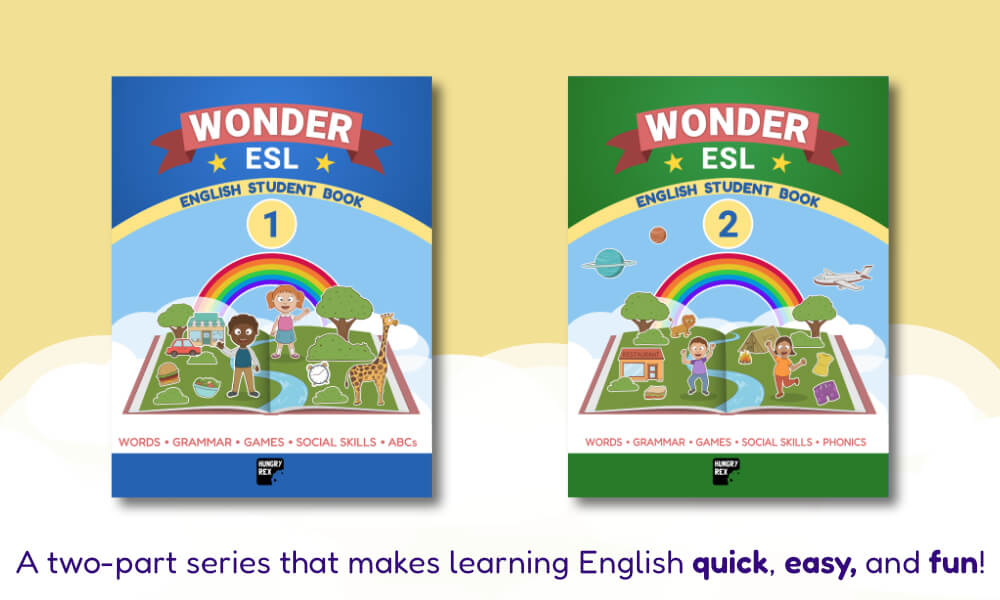
A new English student book for children
Welcome to Wonder! – The new English Student Books help children study English as a second language. Wonder is an exciting new student book series designed to help kids learn English in a new and engaging way. They are packed with games and activities to help children develop their English language skills. The books are divided into sections that focus on different aspects of the English language, each section includes activities designed to help children practice and master the English language. Wonder is the perfect book for the ESL classroom and any child taking their first steps to learning English. So if you’re looking for a great way to help your child learn English, look no further than Wonder! Click the link below for more information.
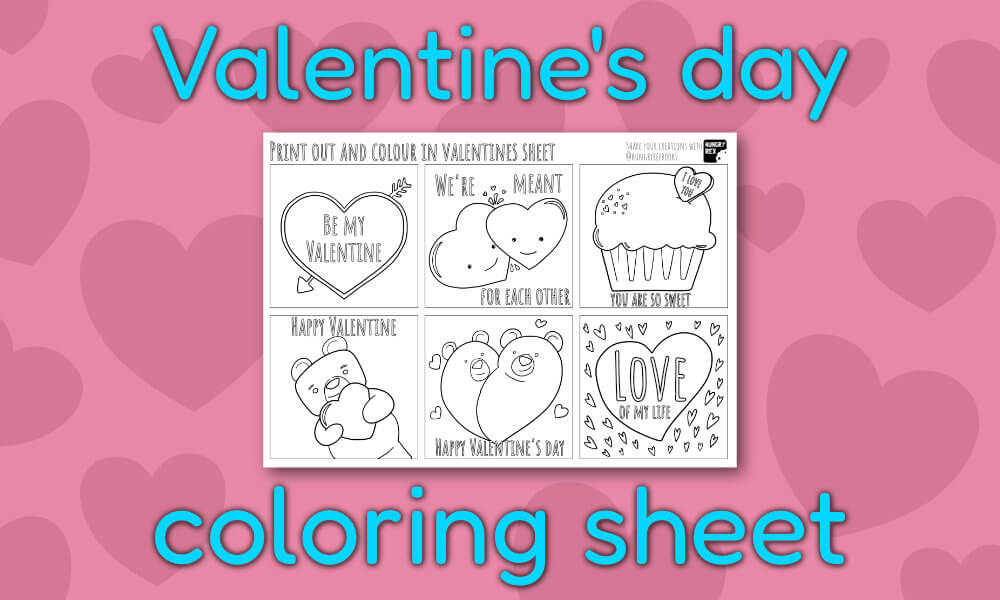
Free Valentine’s day coloring sheet
Valentine’s Day is just around the corner, and what better way to celebrate than with a free Valentine’s Day colouring sheet? This free colouring-in sheet is perfect for kids or adults of all ages. It features a variety of Valentine’s Day-themed images, including hearts and cute bears. The sheet is designed to be printed out and coloured in with crayons, markers, or coloured pencils. Colouring is a great way to help kids relax and express their creativity. It can also help them develop their fine motor skills and hand-eye coordination. Plus, it’s a fun activity that the whole family can enjoy together. So why not print out this free Valentine’s Day colouring sheet and get creative this Valentine’s Day? It’s sure to be a fun and memorable experience for everyone involved. Download the sheet by clicking the image below and saving it.